
Well since it is March I figured it was time to finally take down my Christmas wreath and replace it with something new. So I decided I would make an Easter wreath to celebrate this special time of the year.
Here is what you will need:
- glue gun/glue Sticks
- styrofoam wreath base
- vintage broaches/flowers/embellishments
- burlap ribbon (2-3 inches wide)
- moss ribbon
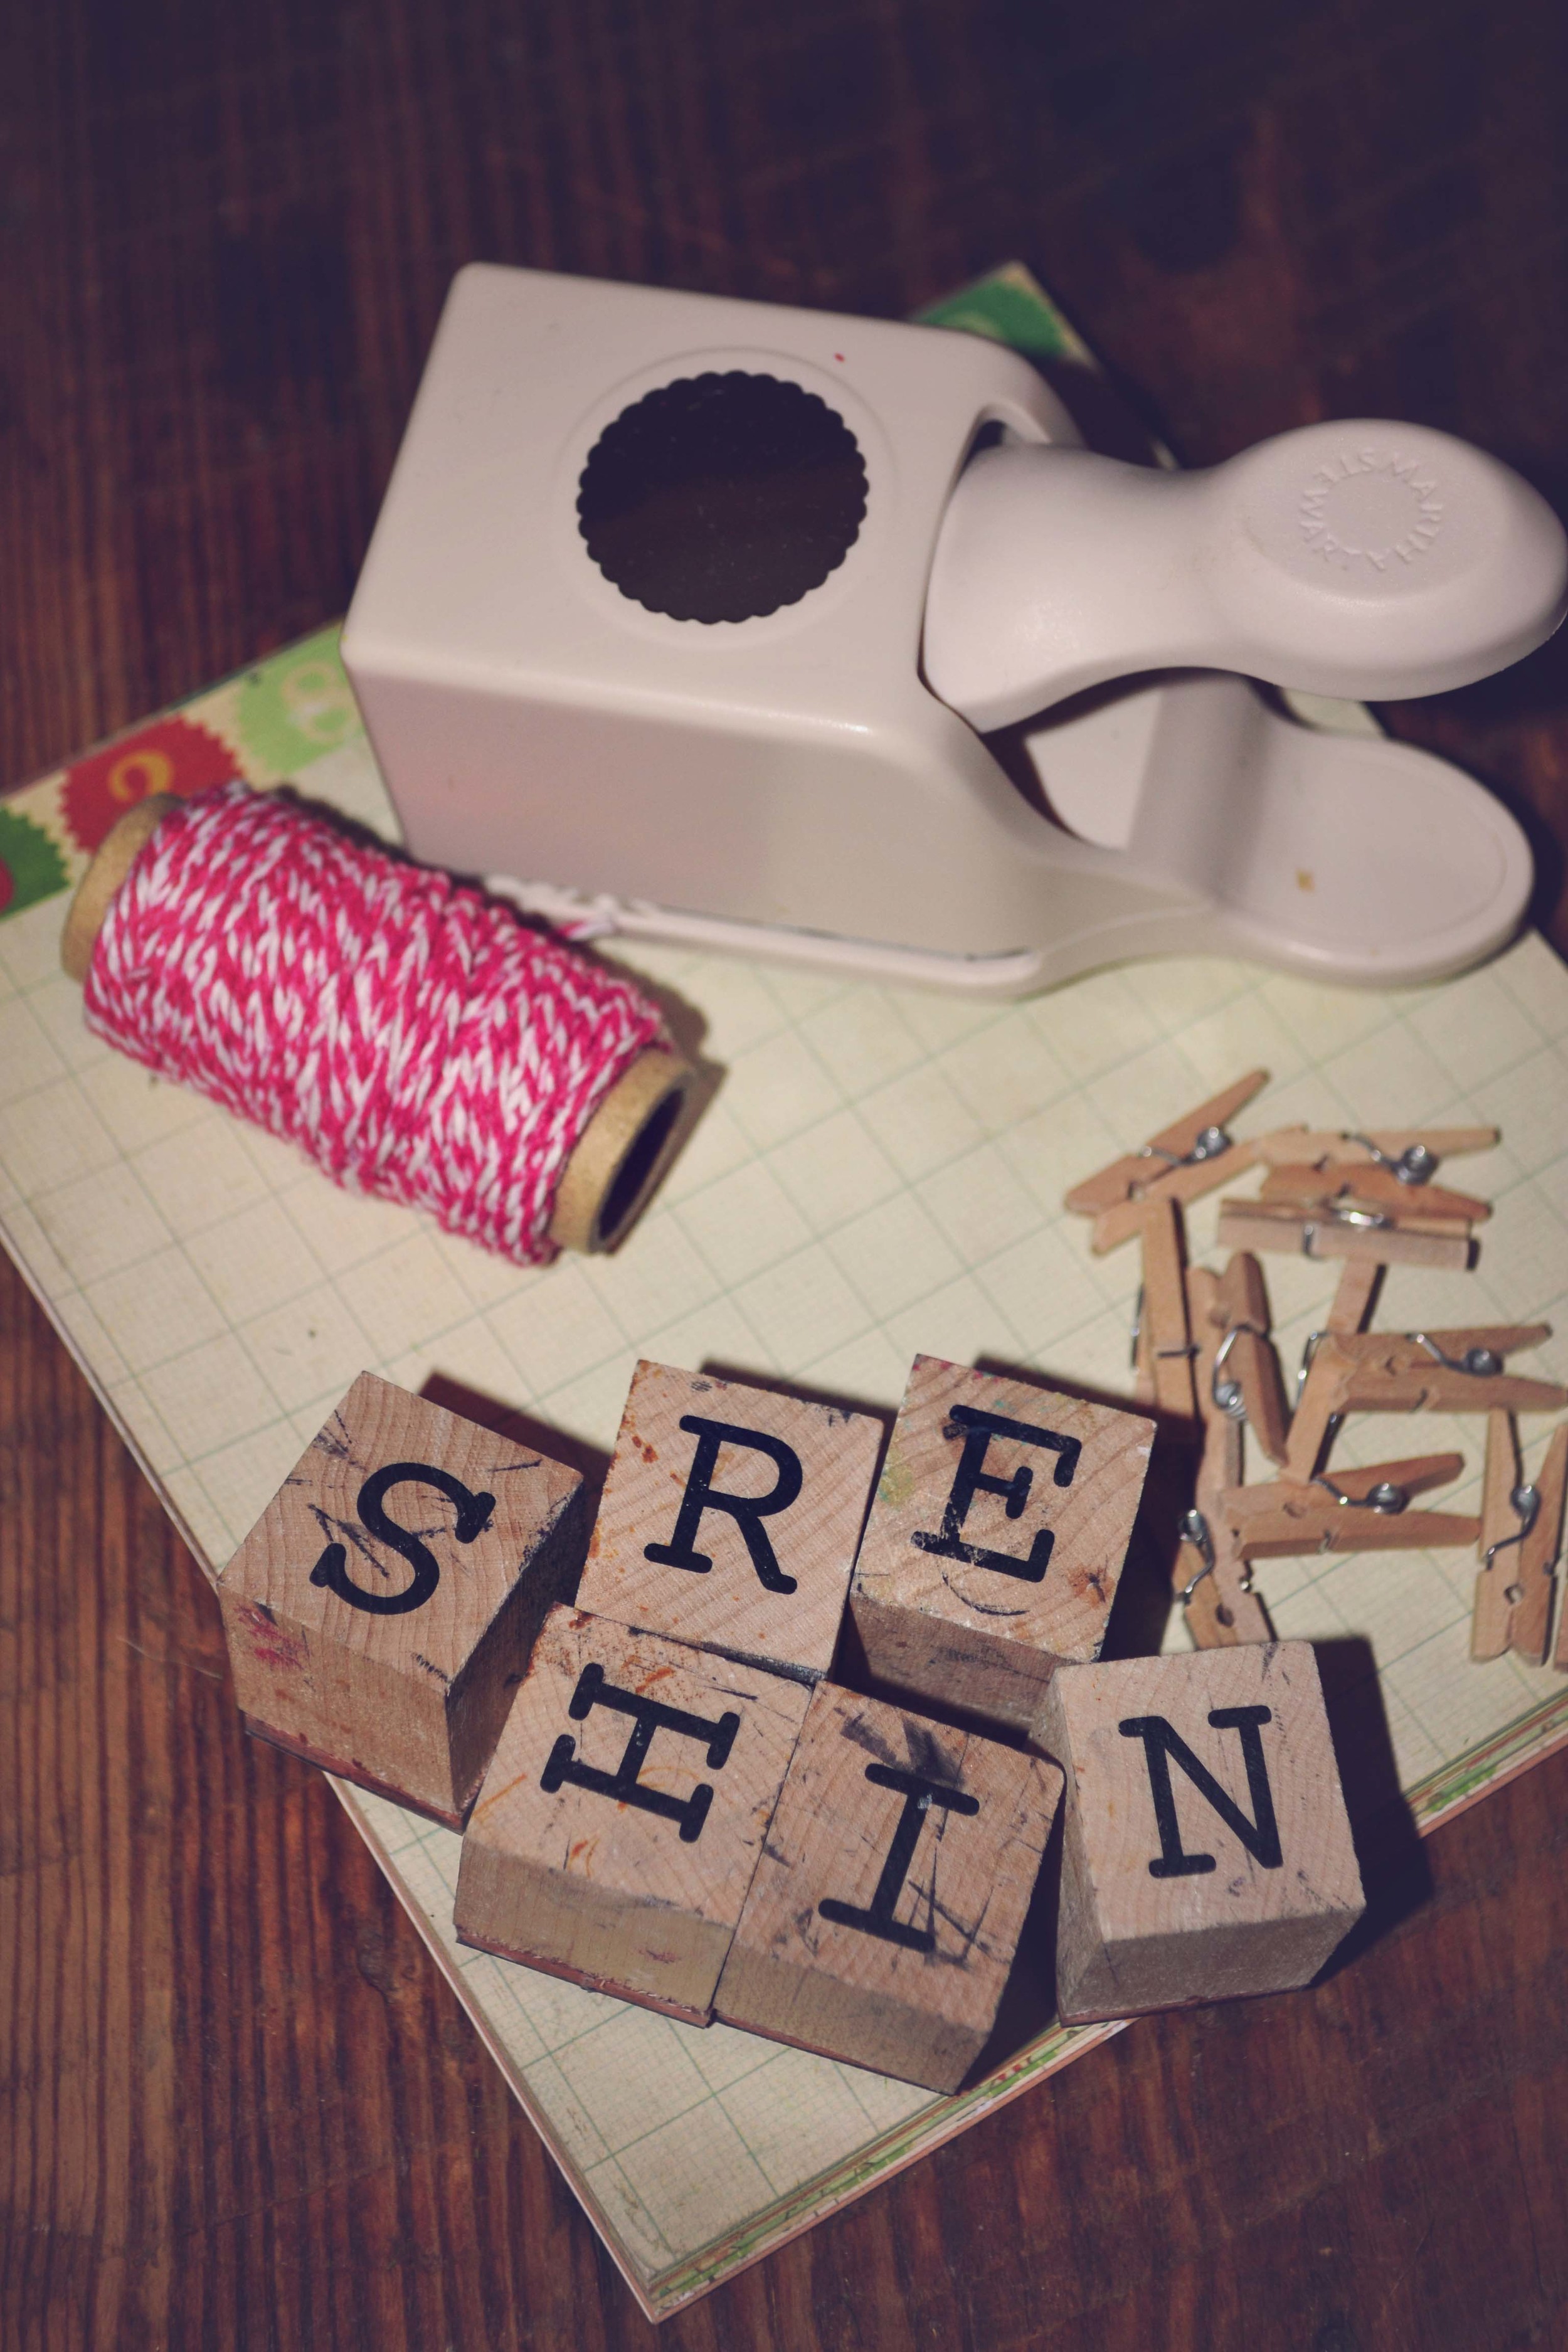
- baker's twine
- mini clothespins
- alphabet stamps/ink pad
- two sewing pins
- ribbon/tulle
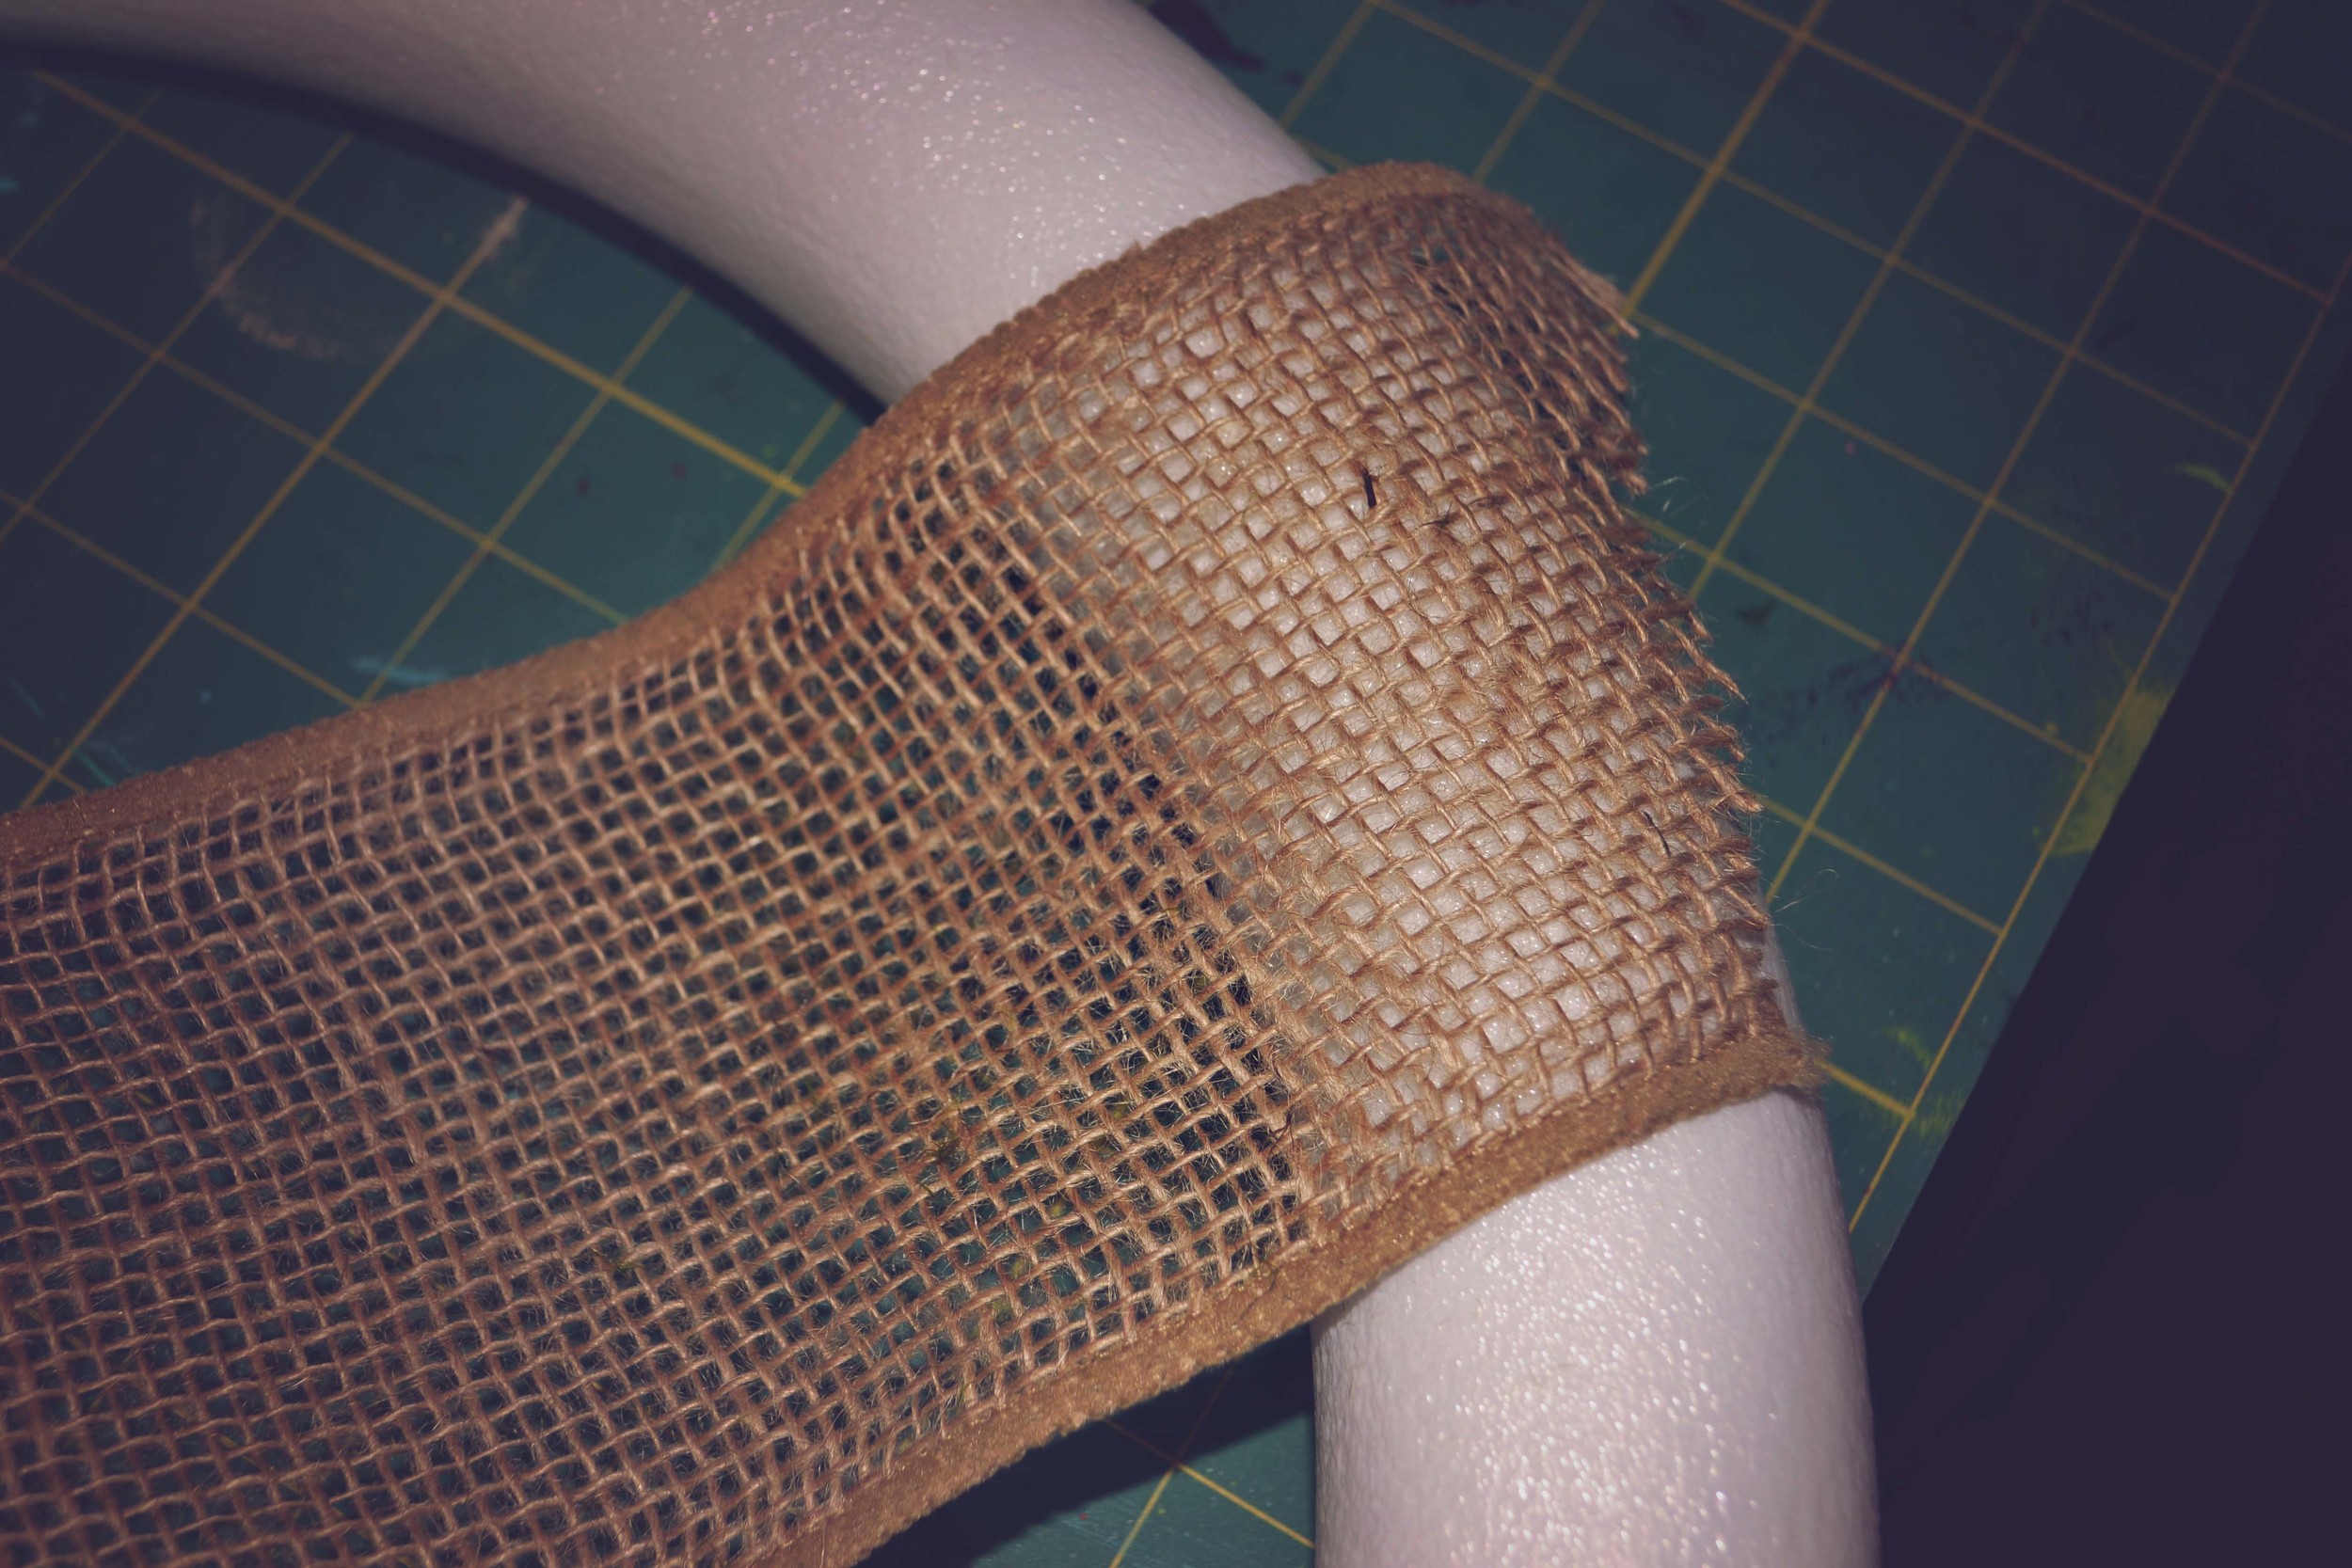
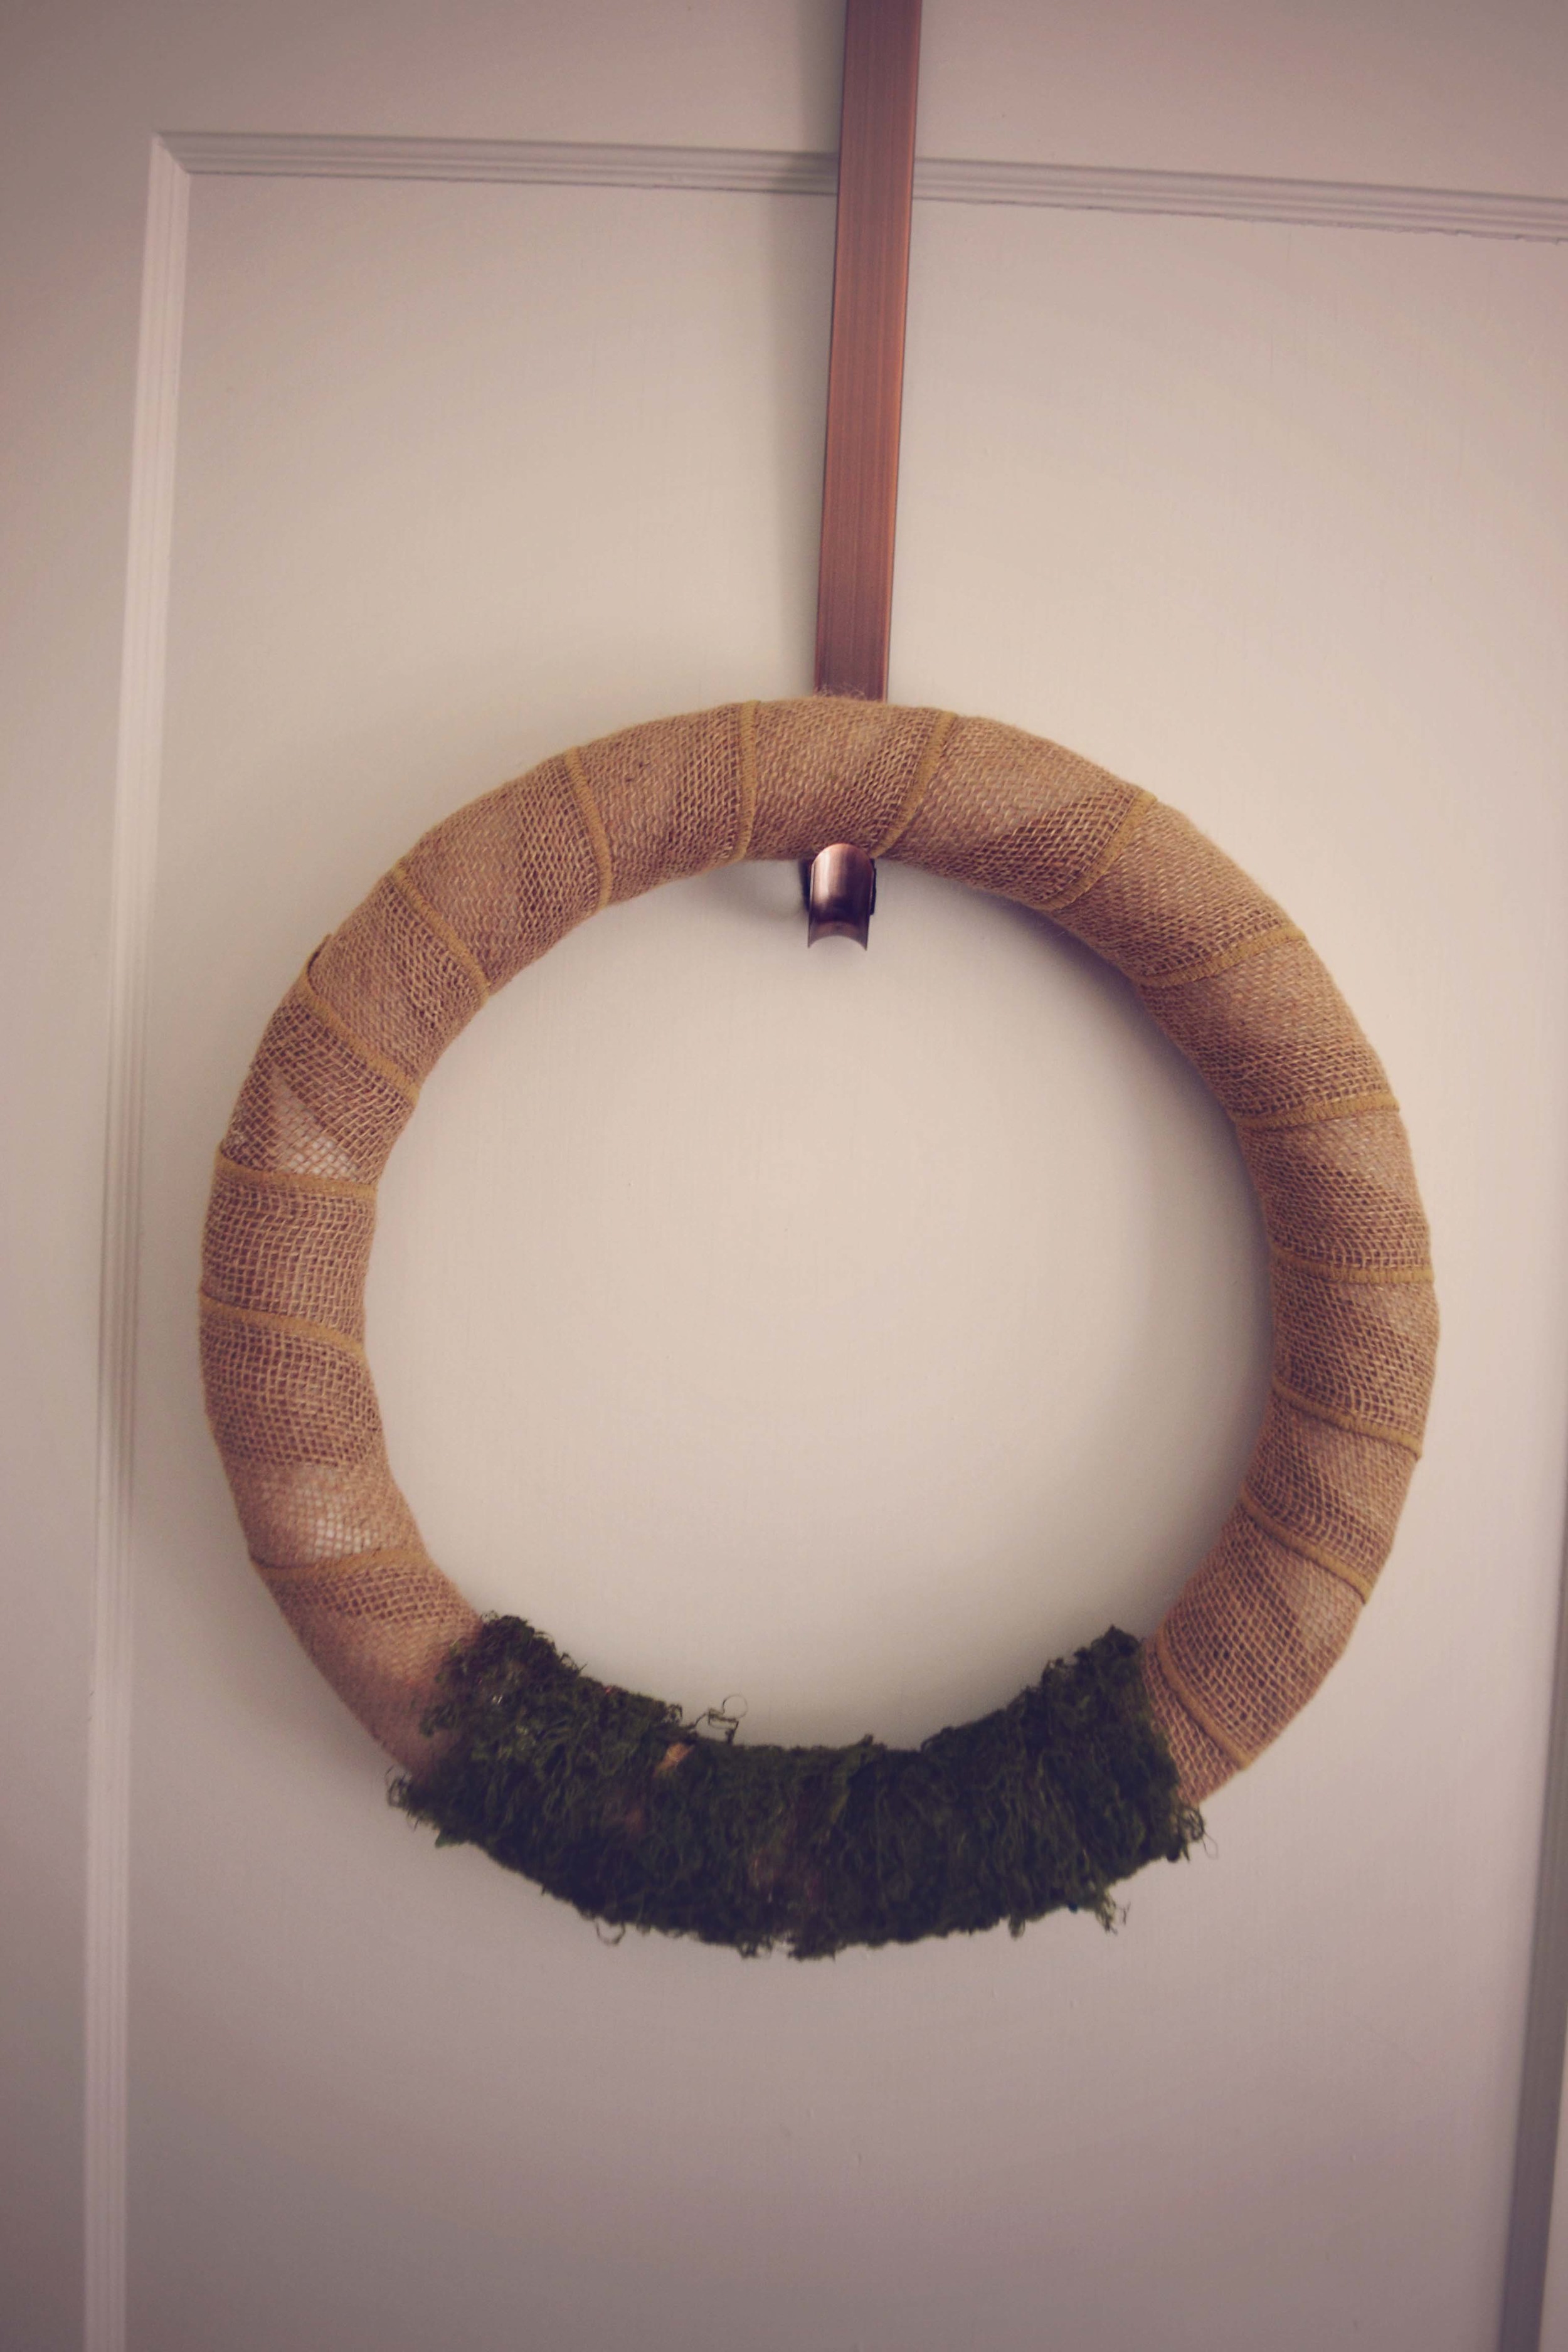
To start your wreath the first thing you need to do is wrap the styrofoam base with the burlap ribbon. I added a little bit of hot glue to the base and attatched my ribbon. After that I just wrapped the entire base until it was covered and hot glued the end so that it would stay in place. Then I did the same with my moss ribbon at the bottom of the wreath.
So now is the fun part. I glued various embellishments onto my wreath. You can really do anything and put things wherever you think looks best. I found some really great packages of fabric flowers with vintage looking broaches at Michaels. Then I added a tulle bow to the top of the wreath to hang it from.
Now for the letters. I got two sewing pins and placed them across from each other and tied a piece of pink baker's twine to them. I used a scalloped circle punch and punched out circles out of scrapbook paper scraps and stamped He Is Risen on them. Then I hung the stamped circles on the twine with mini clothespins. I tried other methods and this turned out the best and the cutest.

And then you have a beautiful wreath to celebrate the Easter season!
He is not here; He has risen, just as He said. Come and see the place where He lay.
-Matthew 28:6